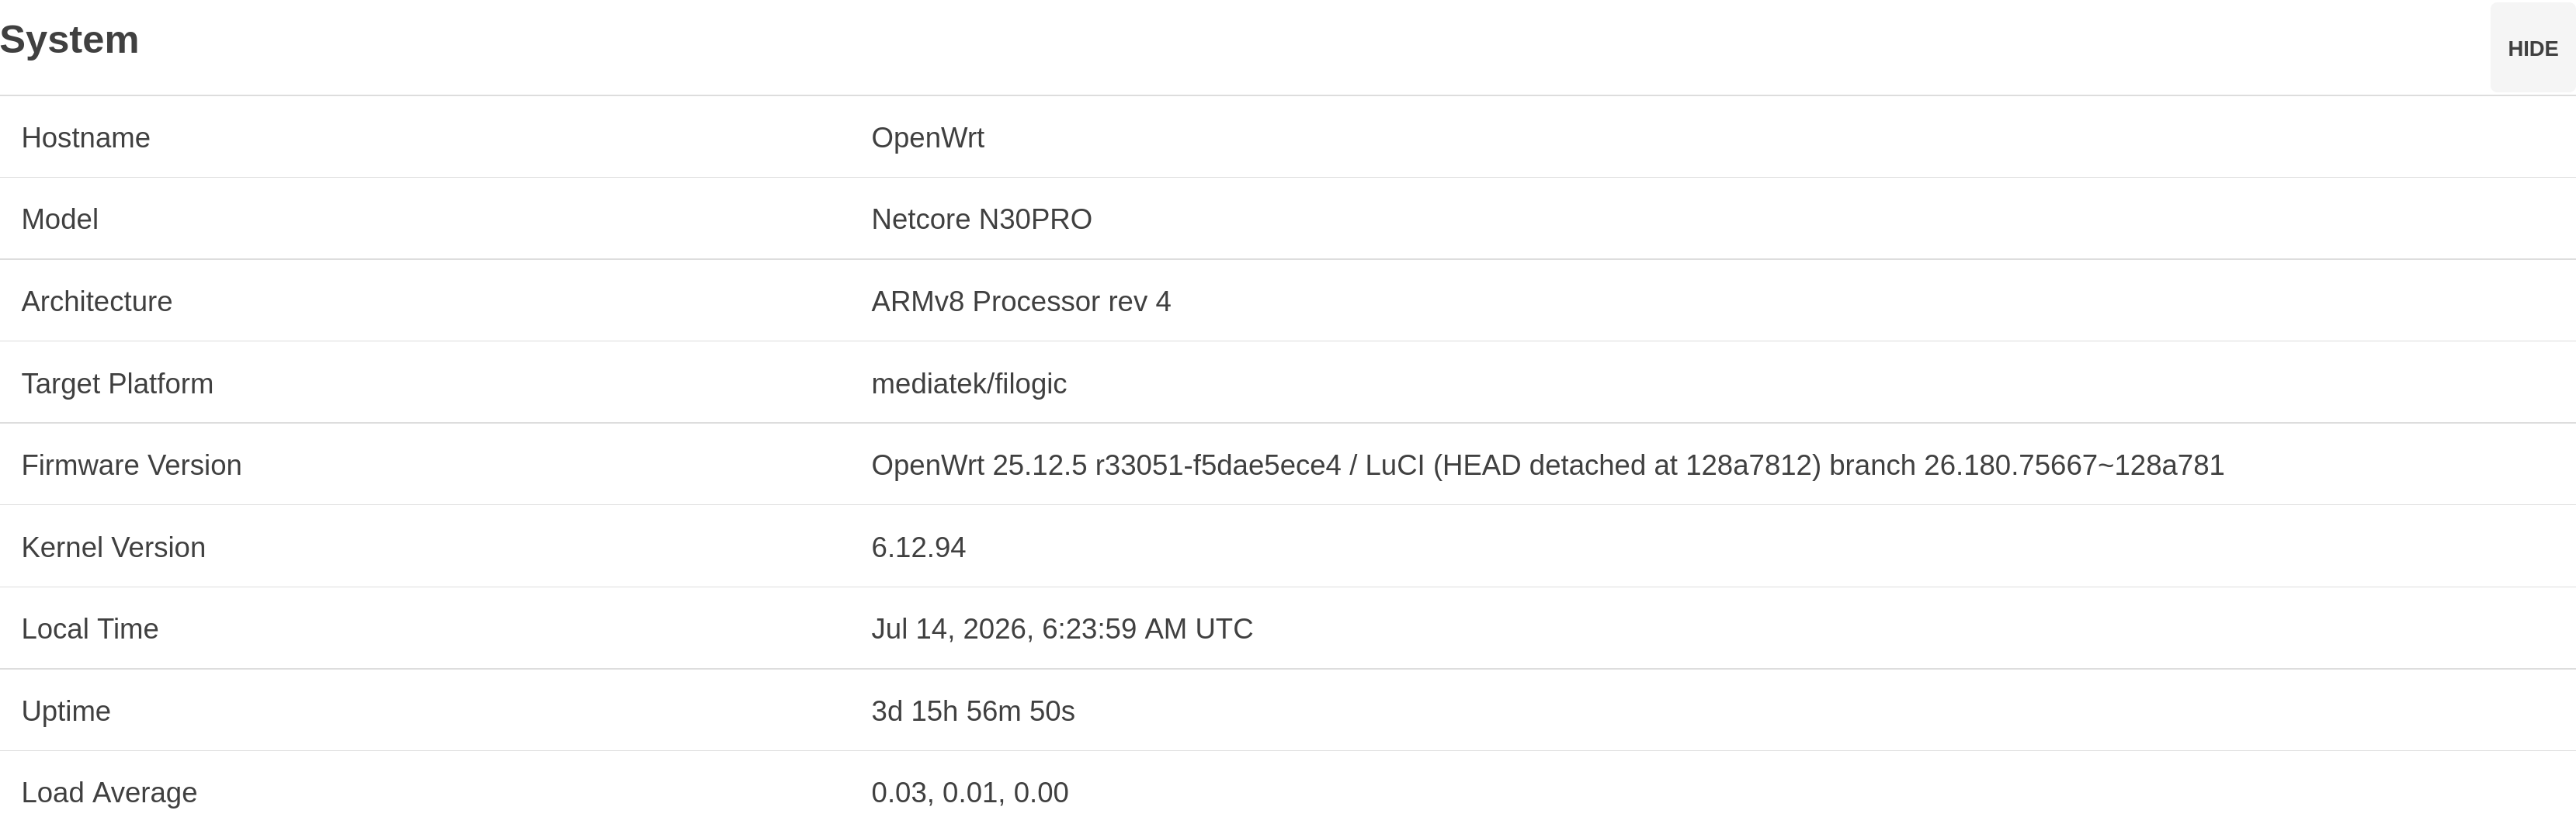
之前一直用舊的 AP 撐著,但最近實在受不了只有 100 Mbps 的網速,就趁 618 買了台應該可以刷 OpenwWRT 的 WiFi 路由器 Netcore N30 PRO 玩玩。
至於為什麼是應該,因為 OpenWRT 25.12 尚未支援。在網路上逛了一下恩山,有兩三位前輩自行移植到 immortalwrt,後來有看到一位前輩或是磊科的員工(?)bfdeh 在 2025/04 開了 OpenWRT 支援 Netcore N30 PRO 的 PR 並在 2025/12 合併,但仔細看了一下改動,Netcore N30 PRO 是 Netis NX30 V2 的別名,但實際比對兩者有不少差別,實際發售後有人提出疑問,bfdeh 也回覆證實當初的規格與實際發售的不同。
既然這位前輩很像員工,也說了規格不對,那肯定後續會修好吧,果然找到他 GitHub 帳號有公開的 OpenWRT fork 裡面有新的改動,請 AI 幫忙分析後應該是有完整支援,但不知為何沒有提 PR 合併,所以目前需要自己動手 cherry pick 並編譯。
OpenWRT Wiki 有一篇編譯教學,沒有特殊需求照著做就行了。
編譯環境
自行編譯需要拉取大量套件原始碼,盡量在配備高效能 CPU 、4GB 以上記憶體與良好島外路由的主機上進行,所以我在工作站開一台 VM。
照 Build system setup 安裝套件,裡面有列出需要安裝的套件與常見發行版的對應安裝指令,這裡列出 Debian 13 的。
sudo apt install bc binutils-gold bison build-essential ccache ecj fastjar file flex g++ gawk gcc-arm* gettext git help2man libbsd-dev libelf-dev liblzma-dev libncurses-dev libssl-dev mtd-utils meson mold mtd-utils ninja-build pbzip2 pigz pkg-config python3-dev python3-setuptools rsync subversion swig texinfo time u-boot-tools unzip wget xsltproc xxd zlib1g-dev zstd
編譯
拉取 OpenWRT 原始碼,編譯當下最新的版本是 25.12.5,在 v25.12.5 tag 上建立一個自己的分支。
git clone --tags https://github.com/openwrt/openwrt.git
cd openwrt
git switch -c netcore-n30pro/25.12.5 v25.12.5
加上 bfdeh 前輩的移植 commit,v25.12.5 沒有衝突直接加上去。
curl https://github.com/bfdeh/openwrt/commit/3af12a2d67e0db51c7a5ded10bddfa9ce0c4944c.patch | git am
更新 feeds 並安裝其中的套件到 OpenWRT 建置系統,讓建置系統知道有哪些套件可以在編譯時打包進 image 或產生套件安裝檔。
./scripts/feeds update -a
./scripts/feeds install -a
調整建置設定
make menuconfig
- Target System: MediaTek ARM
- Subtarget: Filogic 8x0 (MT798x)
- Target Profile: Netcore N30PRO
- LuCI
- Collections
- luci、luci-ssl:用 Web UI 調整並查看設定,不用死背一堆設定名稱
- Protocols
- luci-proto-wireguard:用 Web UI 管理 WireGuard
- Collections
生成設定差異檔,只會輸出與預設值不同的設定。
./scripts/diffconfig.sh > diffconfig
後續建置就可以用差異檔搭配新的預設值,不用擔心用到舊的預設值,或是浪費時間刪掉 .config 重新調。
還是希望沒有後續,早點併入主線,用官方 CI 編譯好的更省事。
cp diffconfig .config
檢查設定並加入預設值展開成完整設定檔
make defconfig
下載所需依賴的原始碼
make download -j $(nproc)
編譯
make world -j $(nproc)
沒有錯誤的話會在 bin/targets/mediatek/filogic/ 底下看到 openwrt-mediatek-filogic-netcore_n30pro-initramfs.itb 等檔案
mikucat@workstation:~/openwrt$ ls -l bin/targets/mediatek/filogic/
total 22960
-rw-r--r-- 1 mikucat mikucat     1505 Jul  8 17:55 config.buildinfo
-rw-r--r-- 1 mikucat mikucat      487 Jul  8 17:55 feeds.buildinfo
-rw-r--r-- 1 mikucat mikucat   210368 Jul  8 17:55 mt7981-ram-ddr3-bl2.bin
-rw-r--r-- 1 mikucat mikucat   210368 Jul  8 17:56 mt7981-ram-ddr4-bl2.bin
-rw-r--r-- 1 mikucat mikucat   194067 Jul  8 17:56 mt7986-ram-ddr3-bl2.bin
-rw-r--r-- 1 mikucat mikucat   194067 Jul  8 17:57 mt7986-ram-ddr4-bl2.bin
-rw-r--r-- 1 mikucat mikucat   239104 Jul  8 17:57 mt7987-ram-comb-bl2.bin
-rw-r--r-- 1 mikucat mikucat   239368 Jul  8 17:57 mt7988-ram-comb-bl2.bin
-rw-r--r-- 1 mikucat mikucat   239368 Jul  8 17:57 mt7988-ram-ddr4-bl2.bin
-rw-r--r-- 1 mikucat mikucat  9371648 Jul  8 18:03 openwrt-mediatek-filogic-netcore_n30pro-initramfs.itb
-rw-r--r-- 1 mikucat mikucat     5339 Jul  8 18:03 openwrt-mediatek-filogic-netcore_n30pro.manifest
-rw-r--r-- 1 mikucat mikucat   787188 Jul  8 18:03 openwrt-mediatek-filogic-netcore_n30pro-spim-nand-bl31-uboot.fip
-rw-r--r-- 1 mikucat mikucat   230232 Jul  8 18:03 openwrt-mediatek-filogic-netcore_n30pro-spim-nand-preloader.bin
-rw-r--r-- 1 mikucat mikucat 11534608 Jul  8 18:03 openwrt-mediatek-filogic-netcore_n30pro-squashfs-sysupgrade.itb
drwxr-xr-x 2 mikucat mikucat     4096 Jul  8 18:03 packages
-rw-r--r-- 1 mikucat mikucat     2182 Jul  8 18:03 profiles.json
-rw-r--r-- 1 mikucat mikucat     1585 Jul  8 18:03 sha256sums
-rw-r--r-- 1 mikucat mikucat       18 Jul  8 17:55 version.buildinfo
用 scp 複製 VM 檔案到電腦上,等一下刷入需要用到。
scp -r workstation:~/openwrt/bin ./
安裝
電腦用有線網路插上路由器其中一個 LAN 連接埠,連上 Web UI (http://192.168.0.1)設定密碼,這同時是 SSH useradmin 的密碼。
確認 SSH 能正常運作
ssh useramdin@192.168.0.1
架設 TFTP 伺服器
u-boot 在 ubi 是空的情況下,會拉取 tftp://192.168.1.254/openwrt-mediatek-filogic-netcore_n30pro-initramfs.itb 啟動,所以需要在電腦上開一個 TFTP 伺服器,我選擇用 tftp-hpa。
sudo pacman -S tftp-hpa
sudo systemctl start tftpd
sudo mkdir -p /srv/tftp
sudo chmod 755 /srv/tftp
sudo cp bin/targets/mediatek/filogic/openwrt-mediatek-filogic-netcore_n30pro-initramfs.itb /src/tftp/
echo test | sudo tee /srv/tftp/test.txt
在路由器上確認 TFTP 伺服器正常,192.168.0.123 請換成實際分發到的 IP。
tftp -r test.txt -g 192.168.0.123
寫入 Bootloader
用 SCP 複製 u-boot 和 preloader 到 /tmp。
scp -o bin/targets/mediatek/filogic/openwrt-mediatek-filogic-netcore_n30pro-spim-nand-bl31-uboot.fip useradmin@192.168.0.1:/tmp/uboot.fip
scp -o bin/targets/mediatek/filogic/openwrt-mediatek-filogic-netcore_n30pro-spim-nand-preloader.bin useradmin@192.168.0.1:/tmp/preloader.bin
在路由器上寫入 bootloader 並擦除 ubi。
mtd write /tmp/preloader.bin spi0.0
mtd write /tmp/uboot.fip FIP
mtd erase ubi
在電腦上用 nmtui 設置靜態 IP 192.168.1.254/24,完成後手動重啟路由器,重啟後可以用 tcpdump、tshark 等封包監聽工具查看是否有 ARP 與 TFTP 流量。
確認 OpenWRT initramfs 拉取完成或偵測 192.168.1.1 TCP port 22 開啟後,透過 SSH 或 HTTP (LuCI) 連上,用指令或 LuCI 上傳 openwrt-mediatek-filogic-netcore_n30pro-squashfs-sysupgrade.itb 更新,到這裡就完成刷入 OpenWRT 了。
心得
第一次編譯時不知道 LuCI 預設沒裝,想說怎麼都連不上那個熟悉又有點醜的 Web UI,後來請 AI 幫忙通靈才知道要用 SSH。
後來要設定 VPN 又發現 kernel 不支援 WireGuard,而且 kernel module 不能用一般套件方式直接從網路上下載安裝套件,要在編譯時加入或是用編譯完產生的套件安裝檔安裝,只好再重新編譯一次。